3 Nail Art Designs for Kids
Meet Blaiklee!
She is five years old, and believe it or not, I’ve had younger clients
For this age group, getting their nails done is more about the experience and fun of it, rather than the longevity and wearability of the design. Kids’ attention spans are a lot shorter than adults’. So, when thinking up a design for the little ones, keeping it quick can prove to be key. Using as few steps as possible will make the experience enjoyable and avoid it from becoming boring for them and tedious for the tech- or whoever gets to glam them up!


Here are three quick and easy nail art designs for kids!
First, let's do some preparation


Use the code
SUZIETIP6to save 15%!Use the code
SUZIEART9to save 15%!Use the code
SUZIENCE8to save 15%!
Discount codes expire on 11/07/2019 11:59 PM PDT

Watch Suzie use the PolyGel Glitter Inlay Amazon DIY Kit!
If you’ve ever polished nails without doing a manicure first, you’ve probably realized how important cleaning up them up before you begin truly is. The cuticles can get in the way of your “nail estate.” Even if the cuticle is just uneven, it can still interfere with your design. And when working with kids, you don’t want to have to spend extra time fussing and fixing, so it is best to set it up right from the get go to avoid this. Having said that, do consider how the child takes to having their cuticles pushed back. Some kids really don’t like it, and it’s not worth making the experience unpleasant for them in order to have the design done properly. Like I said, for kids, it’s for the fun of it- not to have pristine nails. Alternatively, try applying a good amount of cuticle softener and gently pushing the cuticles back.
Keep the prep for children at a simple manicure to clean up the hands and nails as long as they are comfortable. I DO NOT recommend filing the nails or using nail dehydrators or primers. While we normally prep the nail bed this way for adults, for kids, these steps can be invasive and time consuming. For a child who is likely to become bored with their design and want them off in a few days anyway, it’s just not worth the fuss.
We will be using gel products for these nail art designs. Gel is fantastic for kids’ nails because it dries (cures) in seconds! Regular polish requires more patience with longer drying time, which most kids don’t have. Plus, curing the gel under the lamp allows them to have their own part in the process, which they love!


Before beginning your design, apply a layer of no wipe gel top coat and cure under the lamp for 30 seconds.
You don’t want the child to look directly into the LED bulb of the gel lamp. Instead of telling them not to, opt to distract them from it instead. Often telling them to not look at it will only interest them more. So, simply keep up the conversation and keep them involved in what you are doing. Having them look at colour swatches or stamping plates is a good idea.
Design 1: Chrome


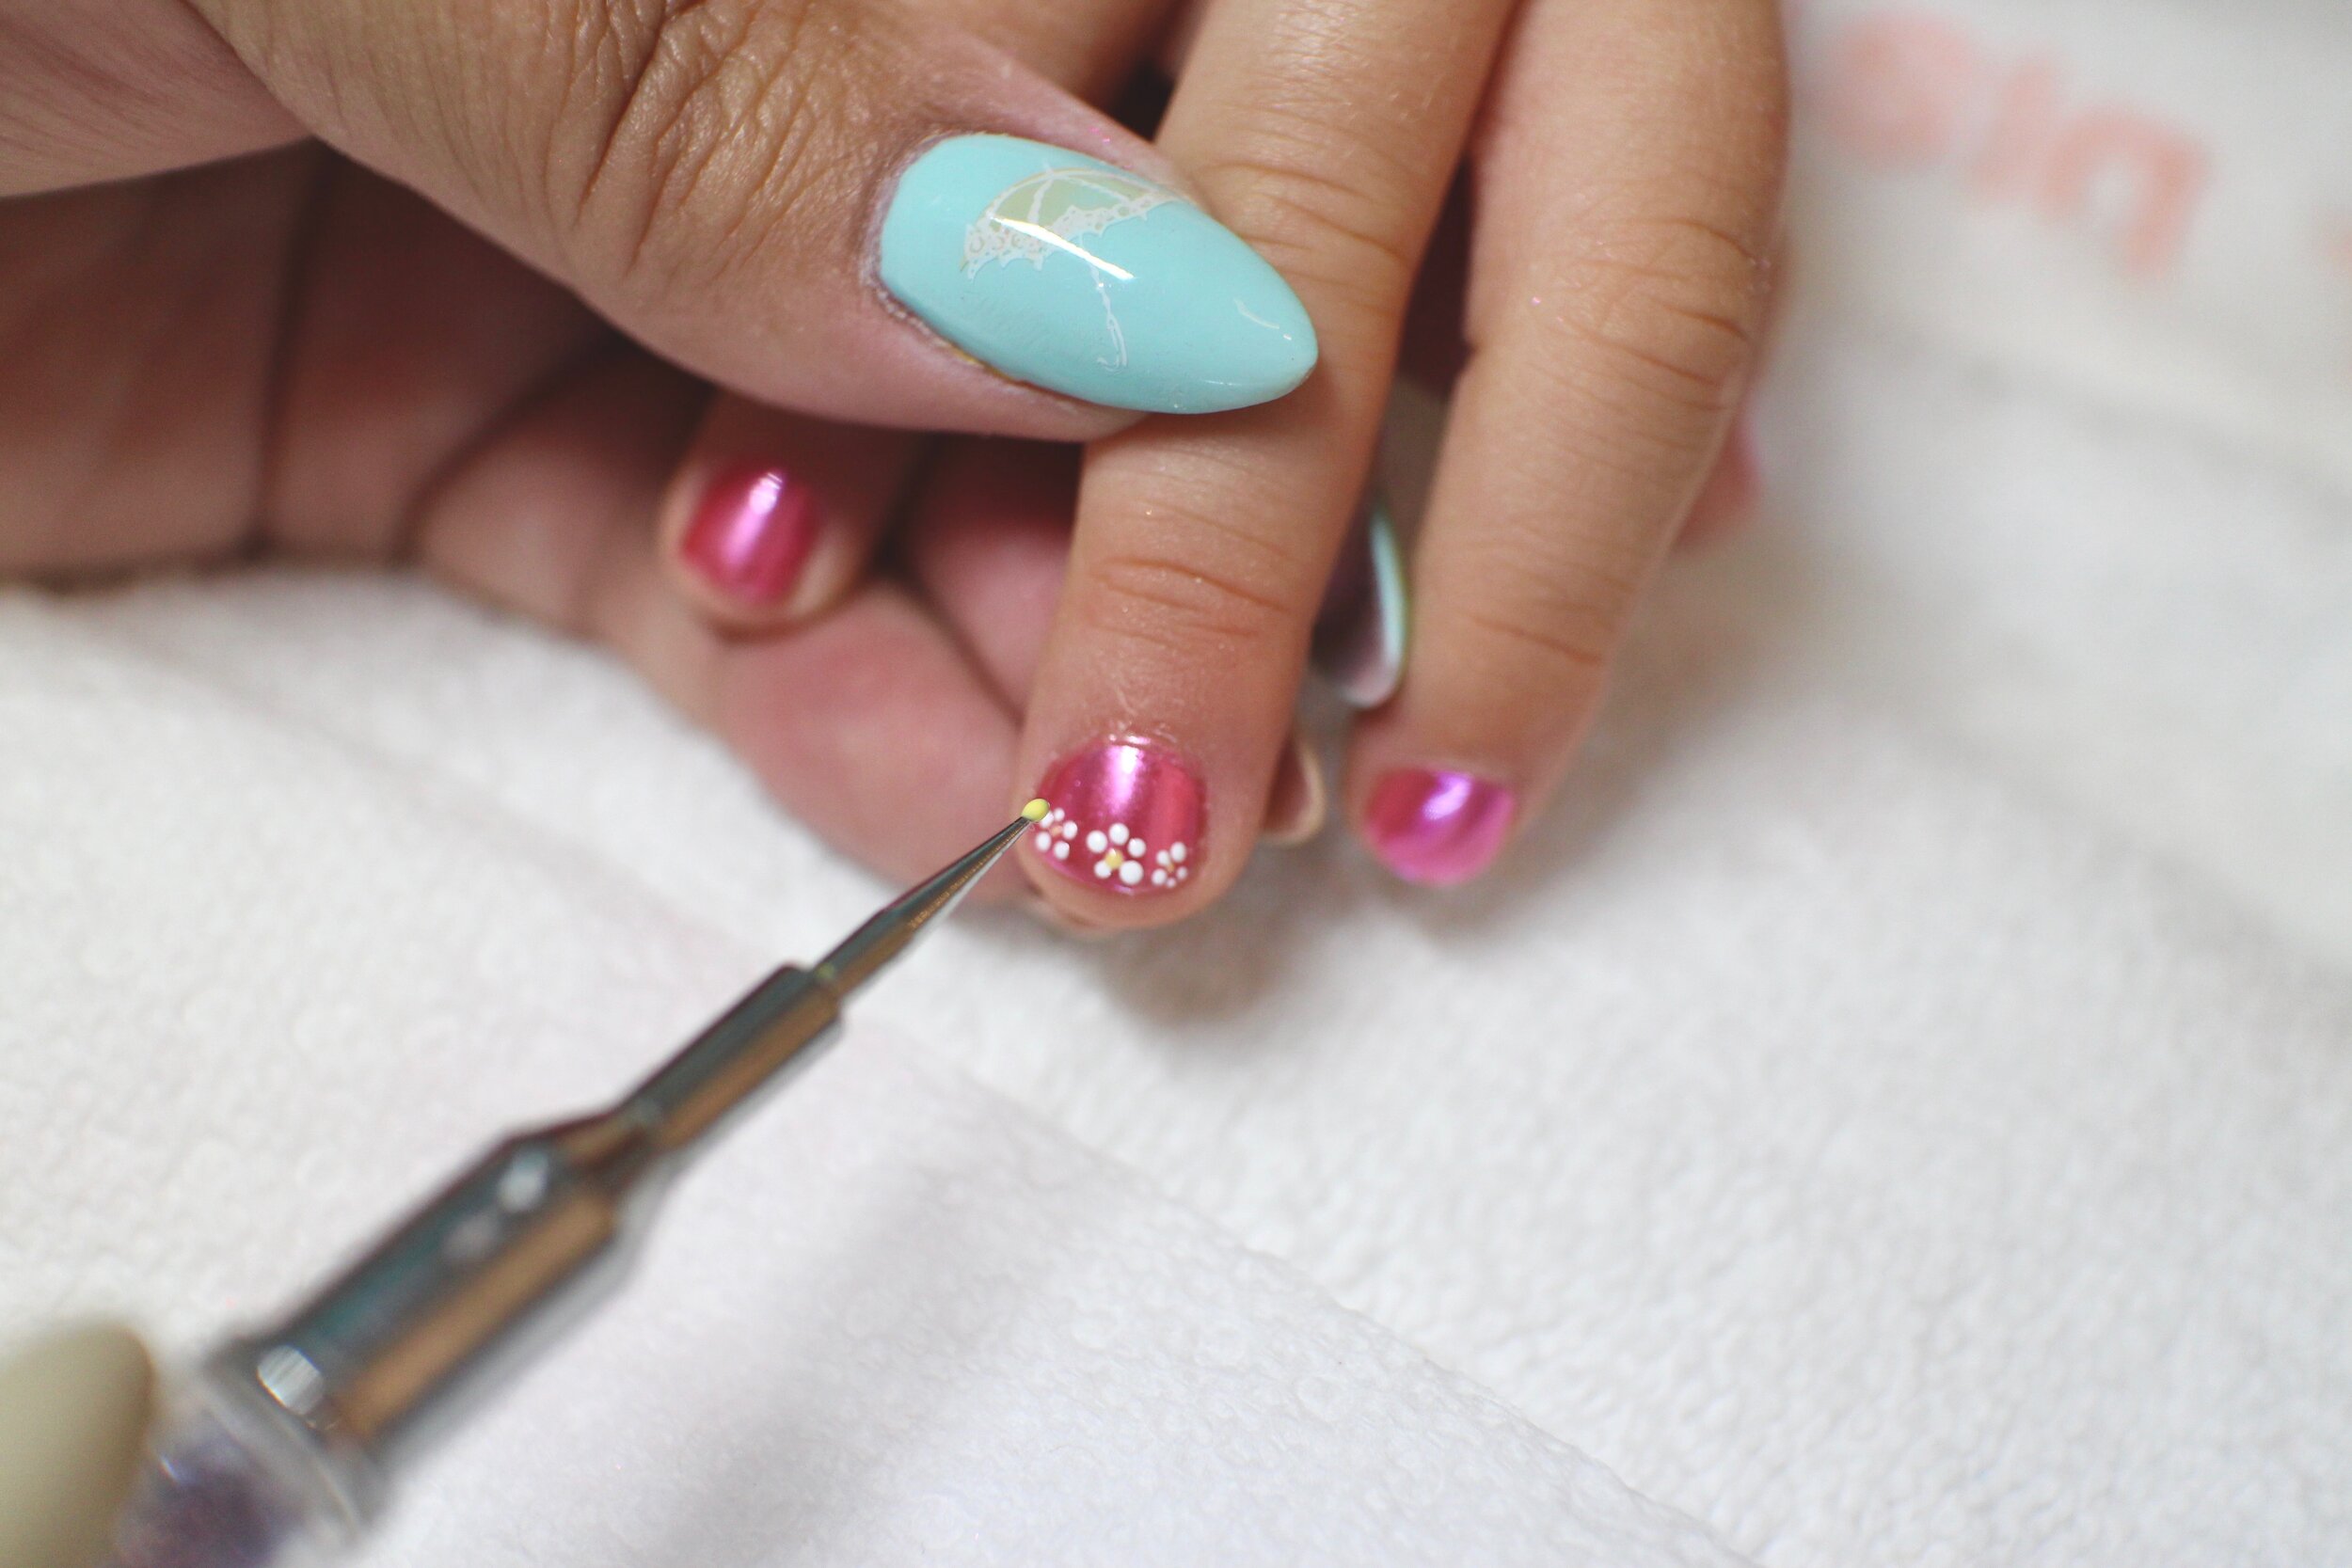
Design 2: Daisies


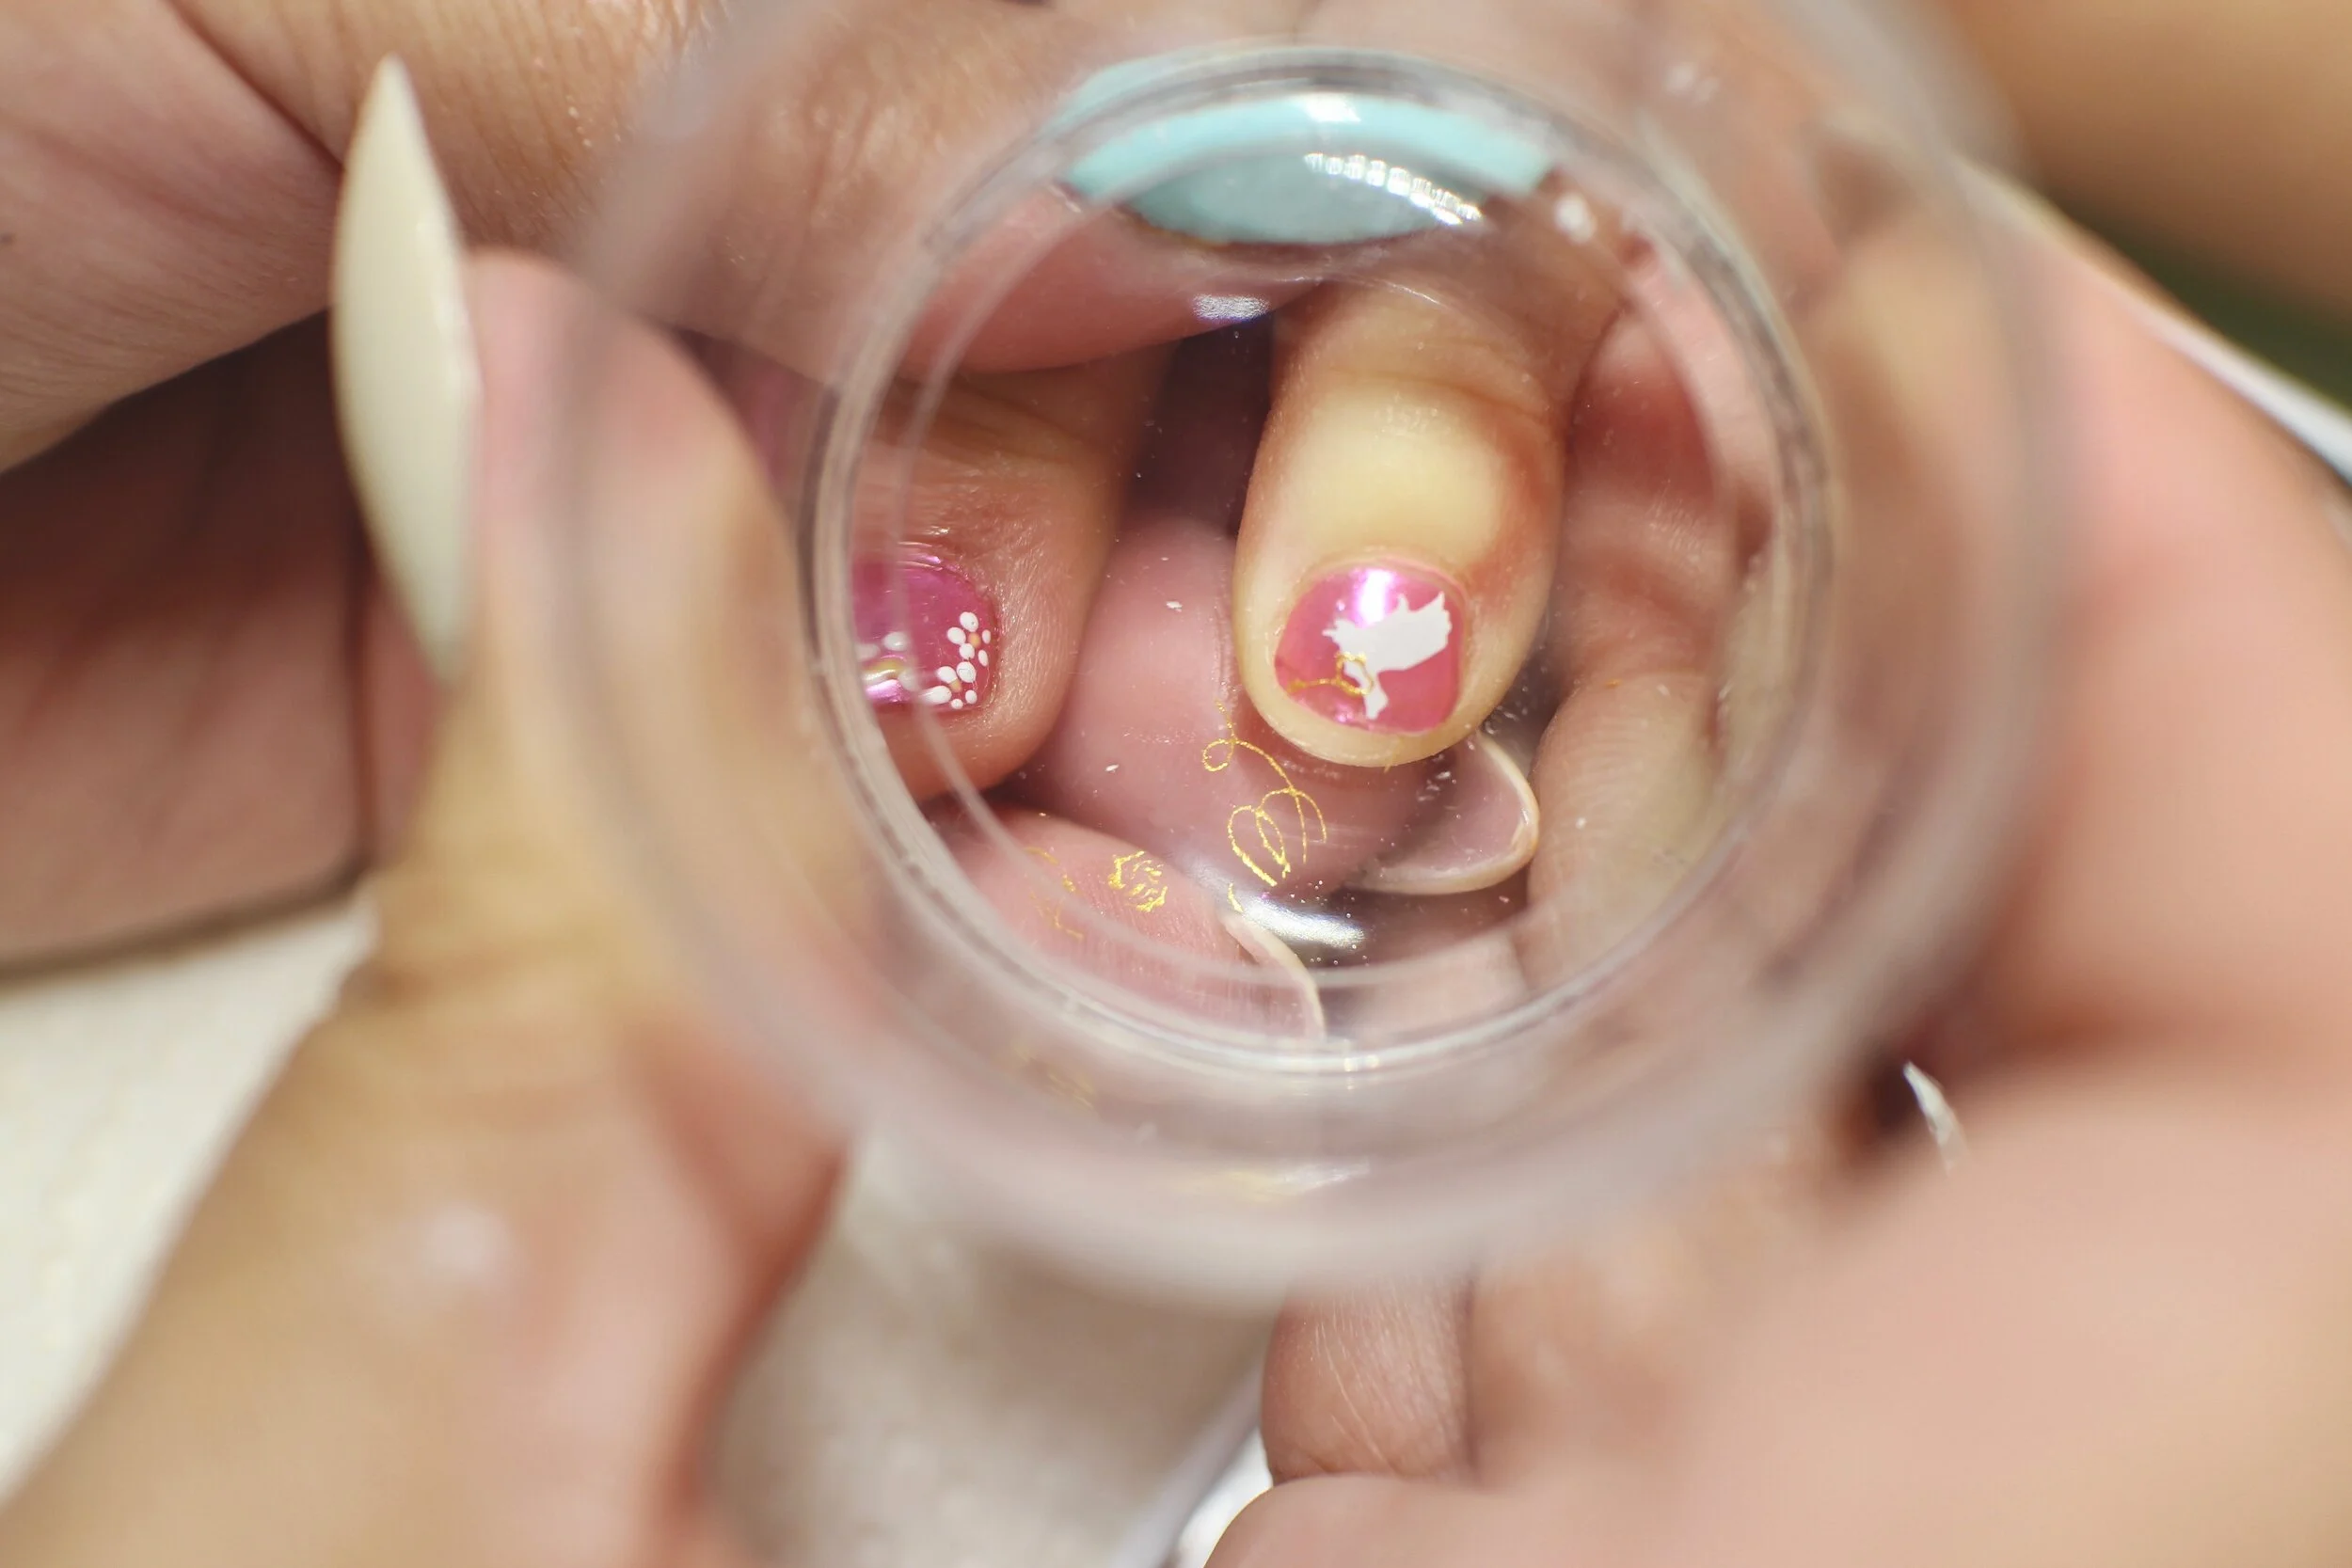
Design 3: Stamping


For Blaiklee, she was happy to have just one of her hands done because she had two new pets- two mini hamsters named Daisy and Lolli. She told me that they like polish on one hand, but not on the other hand and that they were waiting for her at home.
Kids, huh? Gotta love ‘em!